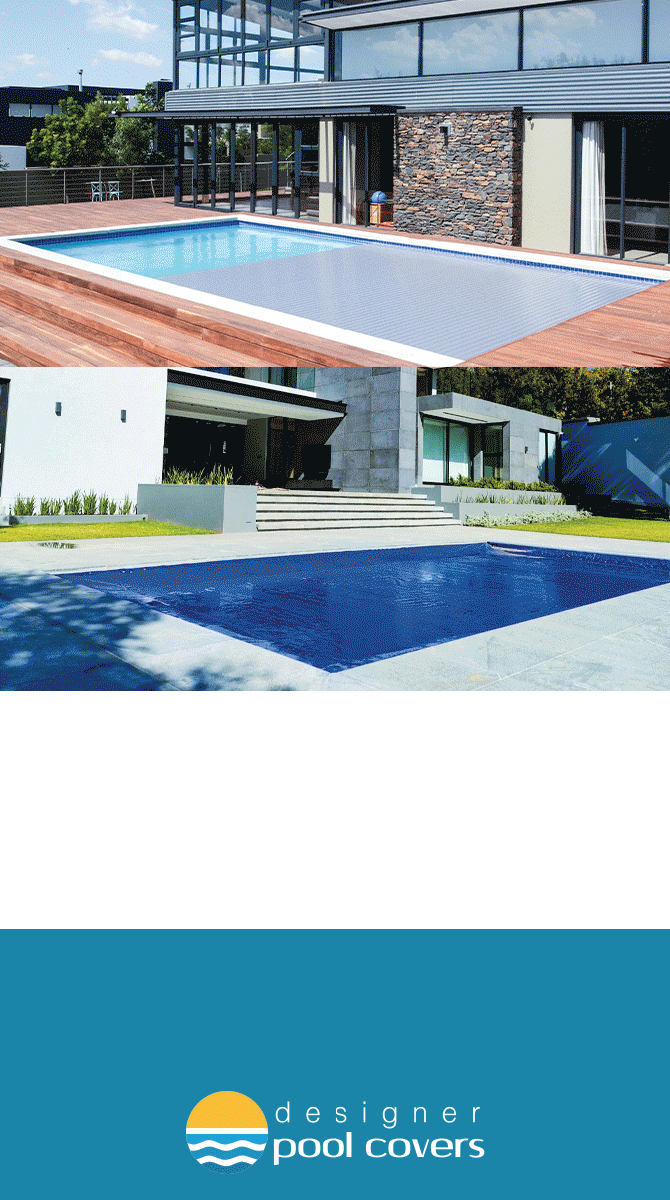
Are you looking for an easy and cost-effective way to install covers for pools? Look no further! With this comprehensive step-by-step guide, you will be able to install your own automatic pool cover in no time. This guide is tailored specifically to DIY installations and provides detailed instructions that are easy to follow. With this guide, you will be able to save time, money, and effort while ensuring that your covers for pools are installed correctly and safely.
Overview of the Installation Process:
Installing covers for pools is a relatively straightforward process, but it is important to understand what materials and tools are needed beforehand. You will need the pool cover, a power drill, screws, anchor plates, and a level. Additionally, it is helpful to have an assistant to help with the installation.Step-by-Step Instructions:
Once you have all the necessary materials and tools for the installation, you can begin.First, you will want to prepare the area by cleaning it thoroughly and removing any debris or obstacles that may be in the way. Next, measure and mark the perimeter of your pool cover and use a level to make sure it is even. Then, use the power drill to attach the anchor plates to the deck or other surface surrounding the pool. Finally, secure your pool cover to the anchor plates using screws and make sure it is taut.
Tips for a Successful Installation:
To ensure a successful installation, double-check all measurements and follow the instructions provided with your pool cover.Additionally, make sure your assistant is aware of any safety precautions to take when handling and installing an automatic pool cover. It’s also a good idea to inspect the area after installation to make sure everything is secure.
Troubleshooting Advice:
If you experience any issues with your automatic pool cover, there are a few things you can do. Make sure all components are securely attached and that there are no loose screws. Additionally, inspect the area for any damage that may have occurred during the installation process and repair as needed.Finally, if your pool cover is not staying in place properly, adjust the tension as needed.
Safety Information:
Automatic pool covers can make swimming safer and more enjoyable for everyone, but it’s important to take certain safety precautions when using them. Be sure to read all instructions carefully before installation and follow all safety precautions outlined in the manual. Additionally, keep an eye on small children when they are in or near the pool, as they may be at risk of becoming trapped under the cover.Preparing the Area
Before you install an automatic pool cover, it's important to make sure the area is properly prepared. This includes removing any debris, measuring the pool, and leveling the ground.Start by raking or sweeping away any debris from the pool and surrounding area. This will ensure that the pool cover sits evenly on the ground. Next, measure the dimensions of your pool to ensure you get the correct size of cover. Finally, it's essential to check the ground is level and even before installing the pool cover.
If the ground is not level, use a shovel or rake to flatten it. Make sure to check with a leveler to ensure everything is even. By taking these steps to prepare the area for installation, you can be sure that your automatic pool cover will be installed correctly and last for years to come.
Tips for Successful Installation
Installing an automatic pool cover can be a great way to make swimming safer and more enjoyable for everyone. To ensure a successful installation, it's important to take certain steps.Double-check all measurements before beginning, and make sure that you have the right tools and materials for the job. Heavy-duty anchors and screws should be used to ensure that the pool cover is securely attached. Additionally, safety precautions such as wearing protective eyewear and gloves should always be taken when installing a pool cover. Following these tips will help you to successfully install your automatic pool cover.
Troubleshooting Common Issues
When installing an automatic pool cover, it is important to be prepared for potential issues that may arise.Common issues include leaks and malfunctioning motors, and it is important to know how to troubleshoot these problems. The first step to troubleshooting is to identify the issue that you are experiencing. If you have a leak, it is important to inspect all of the seals and gaskets around the cover. You can also check the tension of the motor, as this may be causing the leak.
If you are experiencing a malfunctioning motor, it is best to check the connections and wiring to make sure everything is secure. Additionally, you should make sure that the motor is receiving the correct amount of voltage. If you are still having issues, it may be time to contact a professional for assistance.
Installing the Automatic Pool Cover
Installing an automatic pool cover is a great way to make swimming safer and more enjoyable for everyone. To ensure a successful installation, it's important to understand the steps involved in the process.This guide will provide step-by-step instructions on how to install an automatic pool cover.
Materials and Tools Needed:
Before starting the installation, it is important to have the right materials and tools on hand. Make sure you have a pool cover, a pool wall mounting kit, a drill with a Phillips head bit, measuring tape, and a level. Additionally, you'll need sandpaper and sealant or adhesive.Preparing the Area:
Before installing the pool cover, you'll need to prepare the area.Make sure the area around the pool is clear of any debris, and make sure there are no sharp edges or areas that could puncture the cover. Use a damp cloth to clean the surface of the pool walls to ensure they are free of dirt and grime.
Installing the Pool Cover:
Once you have prepared the area, it's time to start installing the pool cover. Start by unrolling the pool cover and stretching it out over the pool. Make sure it is evenly distributed over the entire area of the pool.Once it is in place, use a measuring tape to measure the circumference of the pool walls and mark these measurements on your pool cover. Next, use a drill to secure mounting brackets into position around the perimeter of the pool walls. Make sure the brackets are level before drilling them into place. Once they are installed, attach the pool cover by looping it around each bracket and securing with screws or bolts.
Finally, use sealant or adhesive to fill any gaps between the pool walls and the mounting brackets. This will help ensure that your cover remains secure and in place.
Testing Your Pool Cover:
Once your automatic pool cover is installed, it's important to test it to make sure it is working properly. Start by filling your pool with water and make sure that your cover is securely attached to all mounting brackets.Then, turn on your pump and let it run for several minutes to check for any leaks or signs of damage. Finally, test your pool cover manually by opening and closing it several times to make sure it is working properly. If everything looks good, you're ready to enjoy your new automatic pool cover!Installing an automatic pool cover is a great way to make your swimming pool safer and more enjoyable. When installing a pool cover, it's important to properly prepare the area, install the cover correctly, and troubleshoot common issues. In this article, we have provided step-by-step instructions for installing an automatic pool cover, as well as tips to ensure a successful installation.
To ensure the safety of everyone, it's important to follow these steps carefully and take the necessary precautions. Additionally, it's also recommended to consult with a local professional if you have any doubts about the installation process.